The Best Way to Change an Ileostomy Bag
I was shown how to empty my stoma bag that first morning by the nurse Caroline. Before coming home on the third day of recovery, Natasha the stoma nurse had shown me how to change my stoma bag. Once I got home, I had to quickly work out the best way to arrange things in the bathroom and to identify the best technique for changing my ileostomy. But this did not happen without trial and error. Indeed, I have to confess that despite all my best efforts I have had errors and accidents with my stoma bag. If this happens for me as a trained surgeon then I assume it also happens for everyone so do not get too upset or depressed by such unfortunate learning hiccups.
My own mishaps have occurred from:
- leakage beneath the sticky connection of the stoma bag to the skin,
- overfilling or ballooning of the bag when I am asleep and
- a failure to adequately dry the skin before re-applying the stoma bag or
- inadequately washing off the residue from shaving foam after shaving the hairs arround the site.
These were humiliating and embarrassing episodes, as they could have been avoided by taking great care and paying attention to detail while changing the bag. Also, some of the problems that I encountered were because of my own mistakes. Some of the episodes of leaks occurred when I didn’t empty the bag in a timely manner and left it on too long to become ballooned up and pressurised; especially at night when deeply asleep. This caused the bag to become too full, get tense and blow up like a balloon. So make sure you do change your bag in a timely manner. Here is how:
- After removal of the old bag, wash the area where the bag was stuck with some simple soap and water. Rinse this off with plain water (from the spray bottle) before thoroughly drying the skin around the stoma with a paper towel. Give it a few minutes to air-off before replacing the stoma bag. I made the mistake of not letting the area dry off properly.
- Rinse the area a second time if you used a wet wipe to clean the skin or shaving foam when shaving around the stoma. Then thoroughly dry the area. The residue of the wet wipe or shaving foam causes the new bag not to properly stick to the skin so make sure to wipe it away.
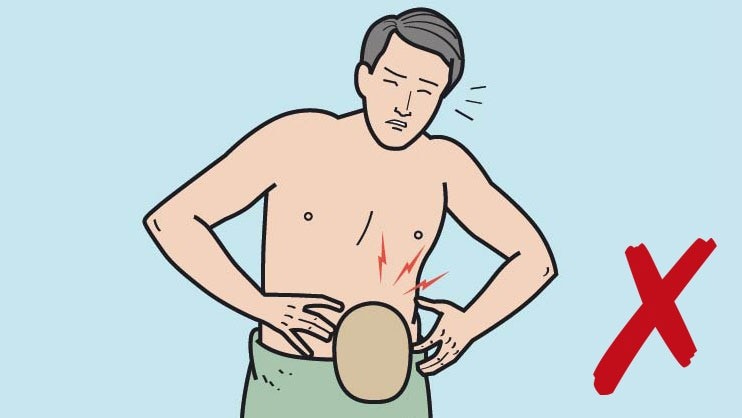
- Do not let the bag become overfull, tense and “ballooned” as this tends to lift the bag and the adhesive away from the skin.
- Change the ileostomy bag every 48 hours. Do not leave the bag on for more than 2 days or 48 hours before changing it. The seal on the skin progressively weakens over time, meaning that the ileostomy bag should be changed every second day or every 48 hours.
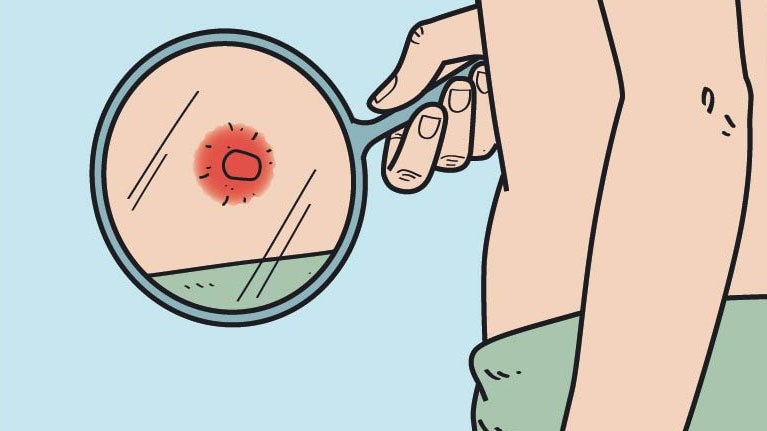
- Check the size of the hole in the bag is correct with 1mm margin around the stoma. Remember that over the first few weeks the stoma may progressively shrink in size. This means that the size you cut into the bag might need to be made smaller progressively as the weeks go by. If the hole in the bag is too large, the skin around the stoma may become red, swollen, angry-looking and excoriated (NB see Sudocrem).

- Check your skin and the baseplate of the bag for leaks, redness or inflammation.
I will lay out my technique below. Good luck!
My technique for Changing My Ileostomy Bag
- Always have a second set of kit for replacing the ileostomy bag ready in case of emergencies or accidents.Accidents happen and mistakes can easily be made when changing your ileostomy bag. So as a precautionary step, always have an additional bag-change kit and a second spare ileostomy bag already cut and ready to use whenever you might need to change your ileostomy bag. Have the bathroom spotlessly clean and select an area where there is a shelf or other kind of surface space to lay out the kit and spares that you might need. Remove any bathmats and preferably stand over a tiled floor or towel.
- Layout the entire kit with all the tools that you might need so everything is readily available and within reach when you need it. My bathroom has a ledge under the window that provides enough space. On this shelf, I have laid out all the equipment I need to change the bag. To one side of the window ledge, I have the sink and a foot-operated waste bin; and the toilet on the other side.
The kit that I laid out and have readily at hand for changing my bag includes:
a The can of alcoholic spray that releases the adhesive on the bag that attaches it to the skin.
b An extra toilet roll with six pieces of two sheets each, torn off and ready on the shelf. c
c A packet of unscented baby wipes or wet wipes; with one sheet ready to use.
d A small spray bottle filled with warm water.
e A disposable, plastic waste bin-liner or plastic bag opened out on the shelf, ready for the old bag and any waste paper.
f A new ileostomy bag already cut to size.
g Hands-free soap dispenser ready at the sink.
h Alcoholic hand disinfectant in another hands-free dispenser.
i A can of air freshener spray for any dubious smells that the bag might produce.
j A bathroom cleaner spray, toilet cleaning gel and beach.
k Ileostomy bag changing kit and extra spare bags cut to size, ready for accidents and emergencies.
l A lined toilet bin operable with a foot paddle for the wet wipes and waste bag.
Standing position: When changing my bag I pulled the bathmat away from underneath the shelf where I stand, so that if there is any spillage, it falls onto the tiled floor and not the bathmat. I tear off three sheets of toilet paper, fold it in double and then tuck it into the waistband of my boxer shorts forming a paper shelf under the bag to catch any drips. I stand quite close to the toilet and perhaps, 5cm from the shelf. The area is well lit and I wear my glasses.
Fill the sink and spray water bottle. Fill the small water spray bottle and the sink with some warm water.
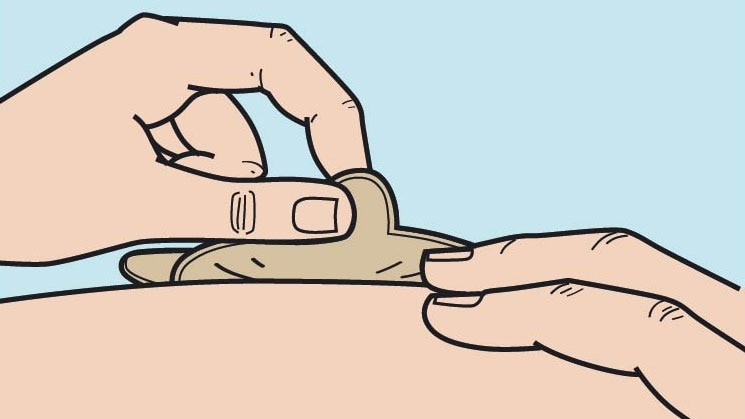
- Remove the old bag: Grasp the tab at the top of the old ileostomy bag with your left hand, gently pulling the bag and the adhesive pad away from the skin. With the alcoholic spray can in the right hand, spray a little onto the skin junction. The alcoholic formula releases the adhesive. You might want to do this three or four times while gently pulling the adhesive pad away from the skin. Remember to not use too much of it as this may result in the new bag not sticking properly. Once the bag has almost come away, put down the spray, pick up a piece of toilet paper and place it over the protruding stoma. This will catch any new drips coming out of the stoma and prevent them from falling onto the floor. Use both hands to fold over the bag and carefully place it in the open waste bin liner you placed on the shelf previously.
- Clean the area and junction of the skin to the stoma. Holding the toilet paper over the stoma with your left hand; use a little plain soap on the finger of your right hand to wash the skin around the stoma, where the bag had been stuck. Use some water and toilet paper to rinse the soap away. Do this with your right hand, placing the used toilet paper directly into the open waste bag on the shelf. Now with your right hand, use a wet wipe to clean the skin around the stoma and then in a circular fashion, the junction between the skin and the stoma and the protruding lining of the small bowel. Do not worry if small spots of blood appear as the bowel lining is very fragile. Then spray the area with water from the spray bottle and thoroughly dry the area with several sheets of toilet paper. Still holding the toilet paper over the opening of the stoma with your left hand, allow the area to dry for a few minutes. Using the corner of a towel can help to dry off the area.
- Apply the new ileostomy bag. Leaving the toilet paper over the stoma opening, grab the new ileostomy bag in the left hand. Remove the protecting film to expose the sticky pad and open up the bag so that the opening is clear of plastic. Then gently tilt the stoma upwards by pulling on the skin just above it. After that, slip the bag over the stoma from the bottom, checking that the hole cut in the bag closely replicates the size of the stoma and is neither too small nor too large. Ideally, it should leave perhaps 1mm all around the stoma. Once the stoma is inside the bag, press the sticky pad down firmly all around the bag to ensure a good fix onto the skin. Whilst doing this, make sure that the stoma does not drip onto the skin or the sticky pad. Fold over and tie down the Velcro tabs to seal the new bag. Remove the toilet paper tucked into the waistband and dispose of it into the waste bag. Fold over and tie the waste bag tightly closed, expressing any air caught in the bag. and throw it away. I dispose of it directly into my outside waste bin.
- Wash your hands. I then use the hands-free soap dispenser and the water in the sink to thoroughly wash my hands. After drying them, I use a little of the alcoholic disinfecting hand rub.
- Lay out the kit for the next occasion. Once I have my hands clean, I lay out the entire kit that I would need to change the bag, on the shelf. I do this so everything is ready to go in case of emergencies or accidents. At this point, check that you have enough bags cut to the correct size and ready to use.
And there you go, you are all done!
Shaving the hair’s from around the stoma
Hair in the skin under the sticky pad of the stoma bag may interfere with the adhesion of the bag to the skin, is uncomfortable when removing the bag, and the hair around the stoma became spoiled and may cleaning more difficult.
I initially used sensitive skin shaving foam in a thin layer, and then shaved it off using a conventional shaver blade. However the foam may interfere with the adhesiveness of the sticky pad of the stoma bag to the skin. Even when it is washed off. Latterly I only used soap and water, washing this off twice after the shave. The area must also be thoroughly dried before reapplying the stoma bag. I used toilet paper. When it was dry I then used the corner of a towel or flannel. Then I waited a few minutes for the area to thoroughly dry off before reapplying the stoma bag.
I have been told to use the inner cardboard tube from a toilet roll to protect the stoma while shaving. This seemed to work quite well, but I had modified it so that I first placed some toilet paper wrapped around the stoma to collect any effluent which may flow out. I then placed the inner cardboard tube of the toilet roll over the stoma. This was then pressed lightly down into the skin and could then be pulled, left or right to move the stoma and make it easier to shave the skin. Shaving the hair is at the margin of the stoma was a little more difficult. I found the use of my electric shaver and the moustache trimming attachment to be useful in carefully trimming the hairs immediately adjacent to the stoma. It is also difficult to shave the hairs below the stoma as this area could not easily be seen. Over the weeks I have become more confident in pulling the stoma to one side in order to gain a better view. The exposed red mucosa of the stoma is very delicate. It may bleed when touches or cleaned, even when this is done gently with toilet paper. Be very careful not to damage the mucosa with a shaver blade or the electric trimmer.
After shaving the area. I then washed it again carefully with soap and a wet wipe before thoroughly drying the area and carefully reapplying the new stoma bag.
Disclaimer: This information is only provided for general and background reading. The information should not be relied upon for treatment. The views provided are not necessarily those of the author or of the website. You should always take advice from your own general practitioner or treating specialist before a treatment is commenced or altered. In individual circumstances liability is not accepted for any reason by my-ileostomy.co.uk